
Adalo App Builder Guide: Build Your First App Step by Step

Modest Mitkus · November 13, 2026
The Adalo app builder is a no-code platform where you drag and drop components onto screens, connect them to a database, and publish real iOS, Android, and web apps without writing code. If you've never built an app before, it's one of the gentler places to start, because you can see what you're making while you make it.
This guide walks through how Adalo works, how to build your first app in a handful of steps, what it costs you in time and trade-offs, and how to think about turning the result into income. Let's get into it.
What Is the Adalo App Builder, and Is It Any Good?
Adalo is a visual, no-code app builder that's good for simple to mid-complexity apps such as directories, booking tools, member apps, and small marketplaces, but it isn't the right pick for every project. You design screens like you'd arrange slides, then tell the app what to do when people tap things.
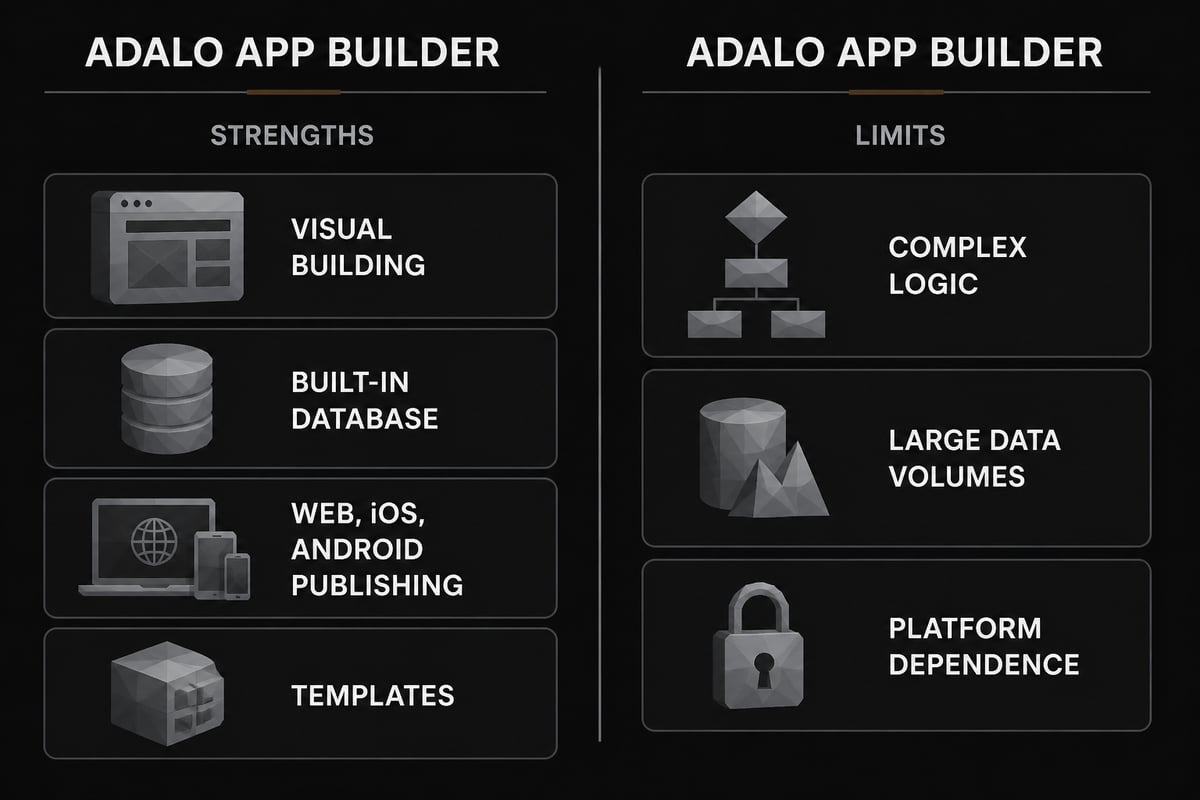
Here's the honest picture. Adalo is strong when you want to move fast, validate an idea, and ship something people can actually use on their phones. It's weaker when you need heavy custom logic, huge data volumes, or pixel-perfect native behavior. Plenty of beginners stall because they pick a tool that's too complex, so a simpler builder can be a real advantage.
A few things it does well:
- Visual building. What you see on the canvas is what users get.
- Built-in database. You don't need to set up a separate backend to store users, posts, or orders.
- Multi-platform publishing. One build can reach web, iOS, and Android.
- Templates and AI help. You can start from a layout or describe what you want and adjust from there.
And a few limits worth knowing before you commit: very complex workflows can get fiddly, and you're building on someone else's platform, so you're subject to its pricing and feature changes. For a first app that's meant to test whether anyone will pay, those trade-offs are usually fine.
How Adalo Thinks: Components, Actions, and a Database
Adalo is built around three core ideas: components, actions, and a database. Once these click, everything else gets easier.
According to Adalo's help center, components form the interface, actions define what happens when users interact with it, and the database stores or collects your app's data. That's the whole mental model.
Here's how that plays out in plain terms:
- Components are the visible bits: buttons, text, images, lists, forms, input fields.
- Actions are the "when someone taps this, do that" rules: open another screen, create a record, send a notification, log someone in.
- The database holds the information: users, products, bookings, messages, anything your app needs to remember.
Think of a simple recipe-sharing app. A form component collects a recipe title. An action says "save this to the Recipes collection and go to the feed screen." The database stores it, and a list component shows every saved recipe on the feed. Three concepts, one working feature.
How to Build Your First App in Adalo, Step by Step
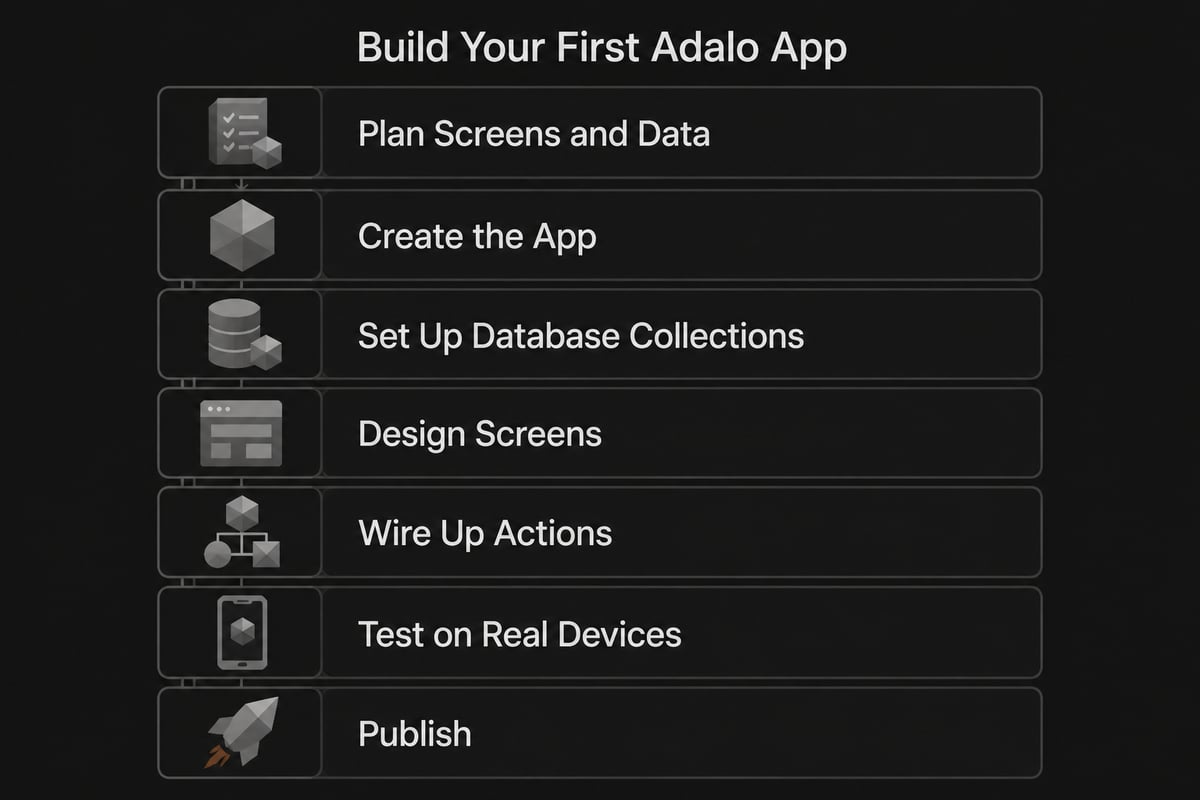
You can build a first app in Adalo by planning your screens, setting up your data, designing the layout, wiring up actions, testing, and publishing, in that order. Don't skip the planning step; it saves you hours.
Step 1: Plan your screens and data
Before you touch the builder, write down the screens your app needs, what each one should do, and what data it must show or save. That's exactly what Adalo recommends doing before you build, and it's good advice. A sketch on paper or a short list in a notes app is plenty.
For a small booking app, you might list: a welcome screen, a sign-up screen, a services list, a booking form, and a "my bookings" screen.
Step 2: Create the app and pick a starting point
Start a new project and choose a template or a blank canvas. Templates give you a head start on layout. A blank canvas gives you control. For a first project, a template you can strip down is often the fastest route.
Step 3: Set up your database collections
Create a collection for each type of thing your app tracks. A booking app might have Users, Services, and Bookings. Add properties (like name, price, date) to each. Adalo's database walkthrough shows how database records feed into app lists, which is the pattern you'll use constantly.
Step 4: Design your screens
Drag components onto each screen. Keep it simple: one main job per screen, big tappable buttons, readable text. Connect lists to your collections so real data shows up instead of placeholder text.
Step 5: Wire up actions
This is where the app comes alive. Add actions to buttons and forms: navigate to another screen, create a record, update a record, log in or out. If something doesn't work, it's usually an action pointing to the wrong screen or collection.
Step 6: Test on real devices
Preview the app on your own phone, not just in the browser. Tap everything. Try to break it. Ask a friend to sign up cold and watch where they get confused, because that's where your real bugs live.
Step 7: Publish
Publish as a web app first if you want the quickest feedback loop. App store submissions take more prep (icons, screenshots, descriptions, developer accounts), so build in extra time.
Can You Use Adalo for Free?
Yes, Adalo has a free plan, and it's a sensible way to learn the tool before you spend anything. Free app builders in general are fine for experimenting, but they usually come with limits on things like data, published apps, or branding, so check the current plan details on Adalo's pricing page before you build something you plan to sell.
Here's a practical way to think about it:
- Learning and prototyping: the free tier is perfect. Build, break, rebuild.
- Validating with real users: you may hit limits quickly, so expect to upgrade once people start using the app.
- Charging money: plan for a paid tier. If customers are paying you, the platform cost is just a business expense.
One thing worth planning for if you're targeting Android: Google Play's stated deadline is August 31, 2026, after which new apps and updates must target Android 16 (API level 36) or higher, with separate exceptions for Wear OS, Android Automotive OS, Android TV, and Android XR. With a no-code tool the platform handles most of that, but it's smart to confirm your builder is keeping up before you submit.
Common Beginner Mistakes in the Adalo App Builder
Most first-time Adalo projects go sideways for the same few reasons, and all of them are avoidable.
- Building too much. Ship one core feature. A directory with search beats a directory with chat, reviews, payments, and badges that nobody asked for.
- Skipping the data plan. If your collections are a mess, your screens will be too. Name things clearly and keep relationships simple.
- Designing for yourself. You know how your app works. Your users don't. Test with someone who's never seen it.
- Ignoring load and list size. Long lists with lots of images can feel slow. Limit what you show on each screen.
- Forgetting about onboarding. A blank app after sign-up feels broken. Add a first-run screen or example content.
If you're brand new to all of this, the beginner's guide to mobile app development covers the wider picture so Adalo isn't the only thing you're learning at once.
Adalo vs Other Ways to Build an App Without Code
Adalo sits between simple page builders and full-code development, so the right choice depends on how complex your app is and how fast you want to launch. Here's a quick side-by-side of the common routes.
| Approach | Learning curve | Speed to first version | Flexibility |
|---|---|---|---|
| Adalo-style visual builder | Gentle | Fast | Moderate |
| Heavier no-code platforms | Steeper | Medium | High |
| AI-assisted "vibe coding" | Gentle to moderate | Fast | High |
| Hiring a developer | None for you | Slow, costly | Very high |
Vibe coding is worth a look if you want more flexibility than a drag-and-drop tool gives you. You describe what you want in plain English, and AI helps generate the code. If that sounds interesting, here's a breakdown of how to vibe code an app and a look at building an app with AI. Neither replaces the need for a good idea, but both lower the technical bar a lot.
What Should You Build If You Want to Earn From It?
Build something that solves one specific, paid problem for a narrow group of people, because "an app" isn't a business but "a booking tool for independent tutors" is. This is where most hobby projects and real products part ways.
Some patterns that tend to work well for a no-code first app:
- Niche directories with paid listings or featured placements.
- Member apps with a monthly subscription for access.
- Simple tools that save a specific profession hours each week.
- Companion apps for a course, community, or creator audience.
The creator-economy world is full of examples. A tool like Studio Comms shows how a focused platform, in that case private livestream and booking for producers, coaches, and streamers, can serve one audience really well. Small, specific, and useful beats big and vague every time.
If you need idea fuel, browse these app ideas that make money and these micro SaaS ideas, then pressure-test one against a simple question: would a stranger pay for this next month?
How Much Does an App Make? The Honest Answer on Downloads
A high download count doesn't guarantee a fixed payout, because earnings depend on how the app makes money, not on downloads. A free app with no monetization can have many downloads and earn nothing, while a niche subscription app with a small base of paying users can out-earn it easily.
What actually moves the number:
- Your model: subscription, one-time purchase, in-app purchases, ads, or paid listings.
- Conversion rate: the share of users who pay.
- Retention: whether people stick around after month one.
- Price: often higher than beginners dare to charge.
So rather than chasing downloads, pick a model early and design around it. These guides on app monetization strategies and SaaS pricing strategy are good places to sanity-check your numbers before you build.
The Stages of App Development, Adalo-Style
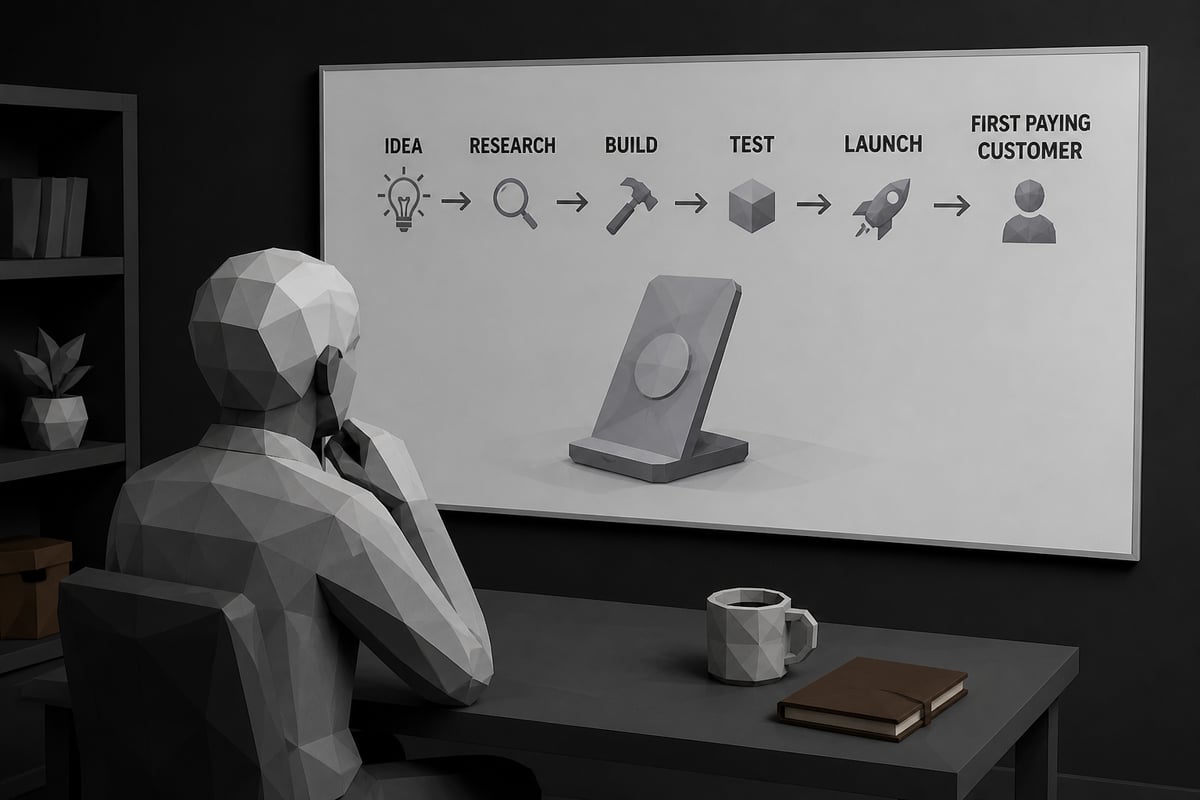
App development typically runs through several stages, from idea through planning, design, build, test, and launch, and a no-code builder compresses several of them into one workspace. Here's how those stages map onto the Adalo process.
- Idea: pick a problem worth solving.
- Research: check if people already pay for something similar.
- Planning: list screens, data, and the one core action.
- Design: lay out screens in the builder.
- Build: connect collections and wire actions.
- Test: use real devices and real people.
- Launch and iterate: publish, collect feedback, improve.
Notice that research and launch are where beginners spend the least time, and they're also where products win or lose. A beautiful app nobody hears about earns nothing, which is why marketing deserves as much attention as the build.
Turning Your Adalo App Into a Real Business
If you want your Adalo app to bring in money, treat the build as roughly half the job and the selling as the other half. A working app is just the starting line.
Here's a simple launch routine that works for most small apps:
- Pick one audience and one promise ("book a tutor in 60 seconds").
- Build a simple landing page that explains the benefit before the features.
- Offer early users a discount in exchange for feedback.
- Ask for reviews once people have had a good experience. This guide on how to get app reviews lays out tactics.
- Track a few key numbers, like sign-ups, paying users, and churn.
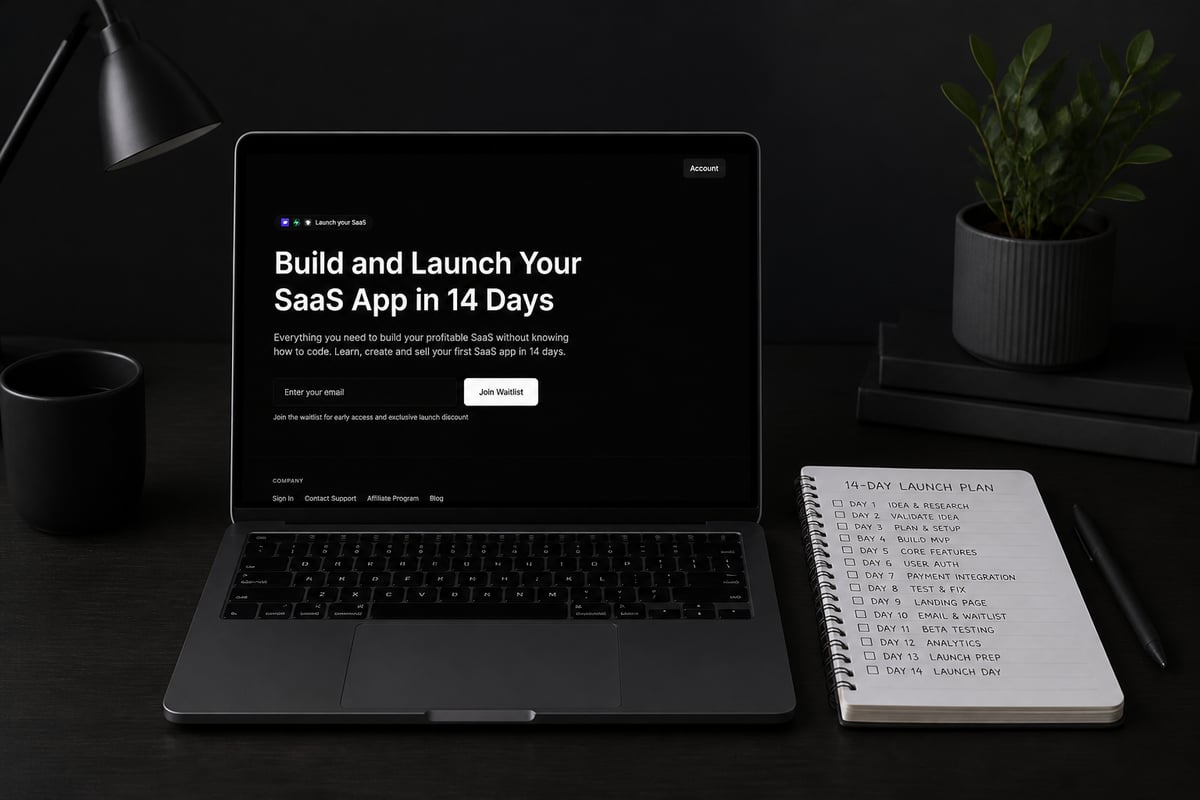
If you'd rather follow a structured path than piece this together yourself, Build and Launch Your SaaS App in 14 Days walks you through finding an idea, building it without code, and selling it. It's built on a system that has helped scale products to tens of thousands of dollars per month, and it focuses on the marketing and selling side, the part where most app projects fail.
You'll also be building alongside other people, which helps more than you'd think when motivation dips. A community of builders sharing progress and first sales keeps you shipping.
FAQ
Is Adalo good for beginners?
Yes, Adalo is a solid choice for beginners because the visual editor and built-in database mean you can build a working app without writing code. The main thing to watch is scope: keep your first app small and focused so you actually finish it.
Are there any free app builders?
Yes, several app builders offer free plans, including Adalo, though free tiers usually limit things like data, branding, or publishing options. They're great for learning and prototyping, but plan on a paid tier once real customers start using your app.
What are the 7 stages of app development?
The main stages are idea, research, planning, design, build, test, and launch. With a no-code builder like Adalo, design, build, and test blur together in one workspace, but the planning and research steps still matter just as much.
Your next step is simple: open a notes app right now and list the five screens and three data collections your first app would need. If you want a guided route from that list to a launched, paying product, Build and Launch Your SaaS App in 14 Days covers the full path with no coding required. And if you want to be first in line for what CreateSell is building next, join the waitlist at CreateSell and start turning your idea into a product that sells while you sleep.


